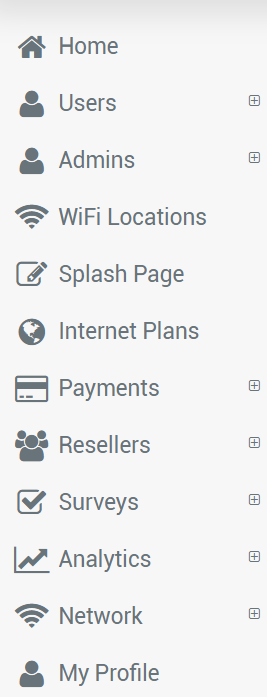
This option helps you to create Hotspot administrators.
From the Admins panel, you can create system admins and assign them different roles like Admin, Location Admin, Marketing admin, etc.
Each Admin has to login in order to do tasks on the Antamedia Cloud WiFi platform.
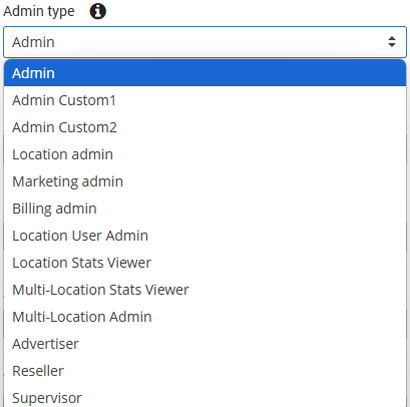
Besides Admin, there are several types of Admin roles:
Admin Custom 1 & 2
Location Admin
Marketing Admin
Billing Admin
Location User Admin
Location Stats Viewer
Multi-Location Stats Viewer
Multi-Location User Admin
Advertiser
Reseller
Supervisor
Create Admin
During signup to the Antamedia Cloud WiFi portal, default admin will be created.
To create a new admin, go to the Admins page and click the New Admin button.
 Create an admin account and send login credentials to the administrator Email.
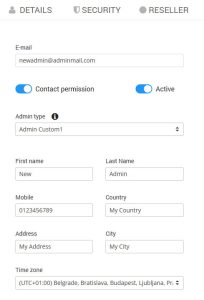
On the Admins page, Details tab type Email, set Password, select Admin type, and set other requested details.
You have the ability to send login credentials, like username, password, and login URL to the newly created admin account.
Save changes.
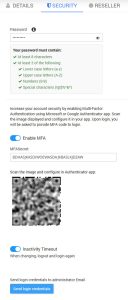
On the Security tab, type Admin Password, optionally Enable MFA, and Inactivity Timeout.
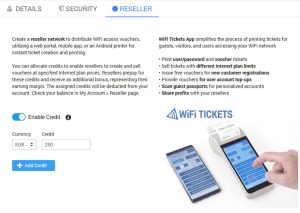
On the Reseller tab, you can allocate credits to enable resellers to create and sell vouchers at specified Internet plan prices. Resellers prepay for these credits and receive an additional bonus, representing their earning margin.
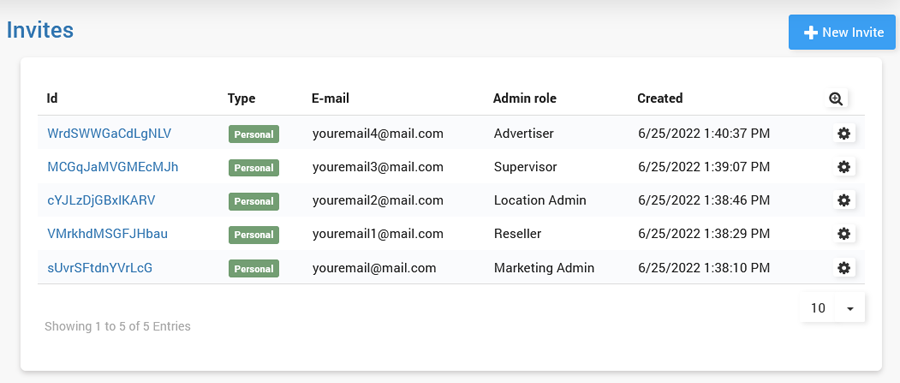
Invites
As the main admin, you have the ability to create public or personal invites and invite users to create admin accounts.
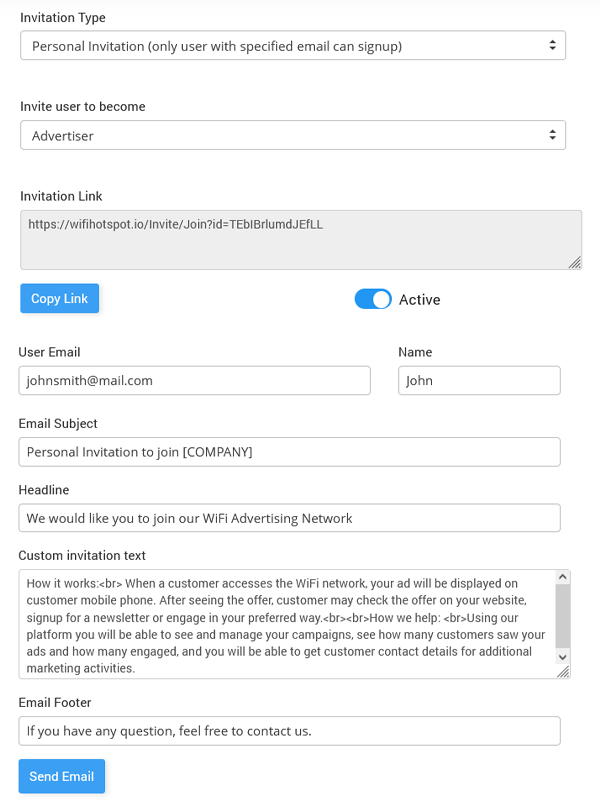
With Public Invitation, multiple users can signup.
With Personal Invitation, only user with specified email can signup.
For this feature, you will need to configure Email server settings on My Account/Email page.
To create an invite, go to Invites and click New Invite.
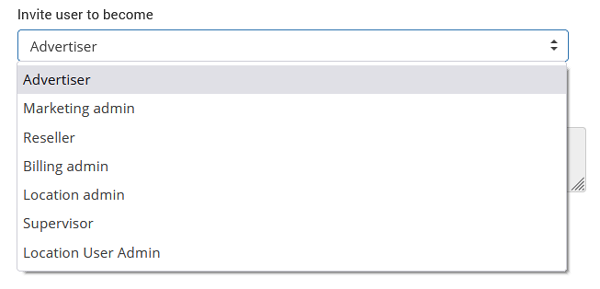
From Invite a user to become select admin account type.
Type User Email, Name, Email subject, Headline, Custom invitation text, and Email Footer.
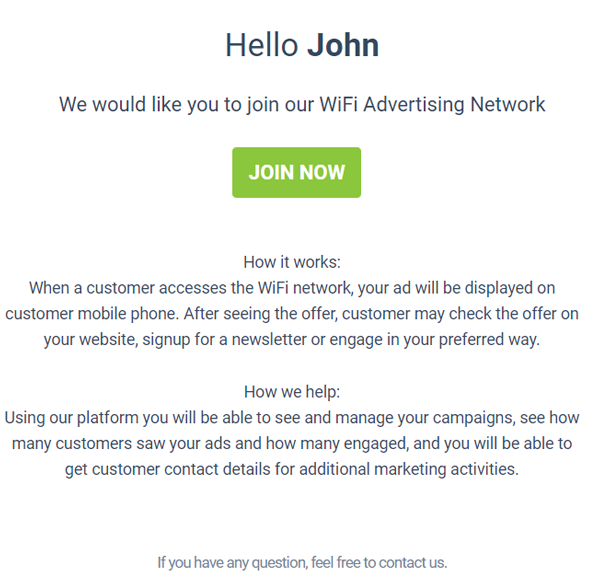
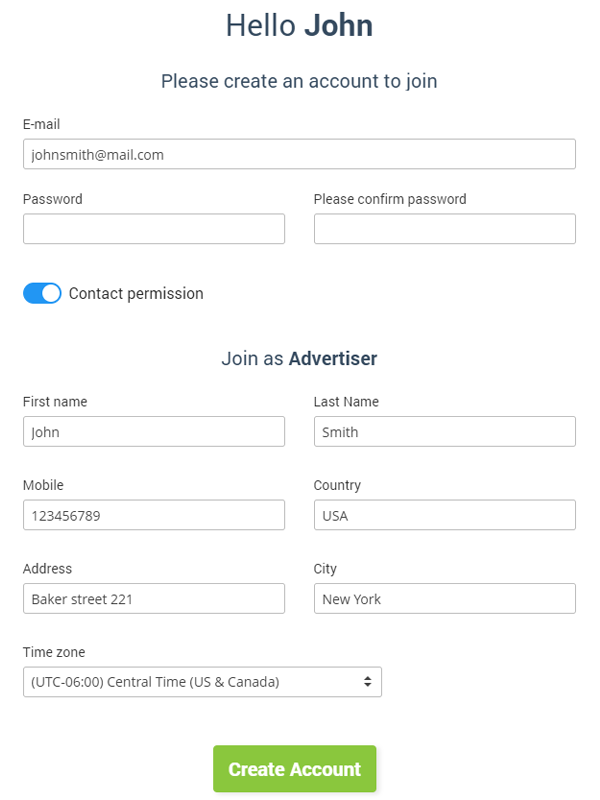
The user will receive an email.
By clicking Join Now button user is able to create an account.
Multi-Factor Authentication
Increase your account security by enabling Multi-Factor Authentication using Microsoft or Google Authenticator app.
Go to the Admins / MFA page and Enable MFA.
Scan the image displayed and configure it in your app.
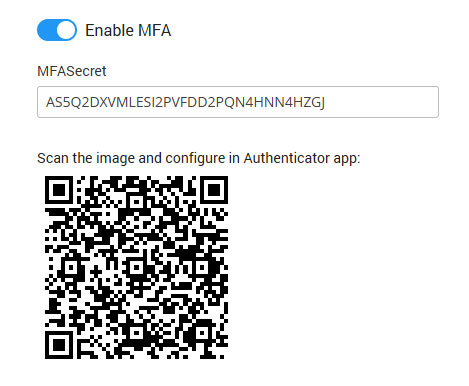
Upon login, you will be asked to provide MFA code to login to your admin account.
My Profile
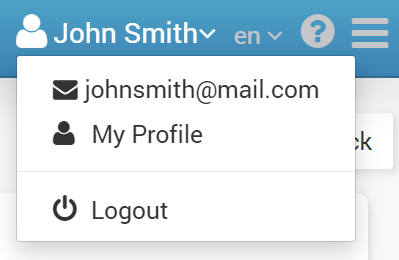
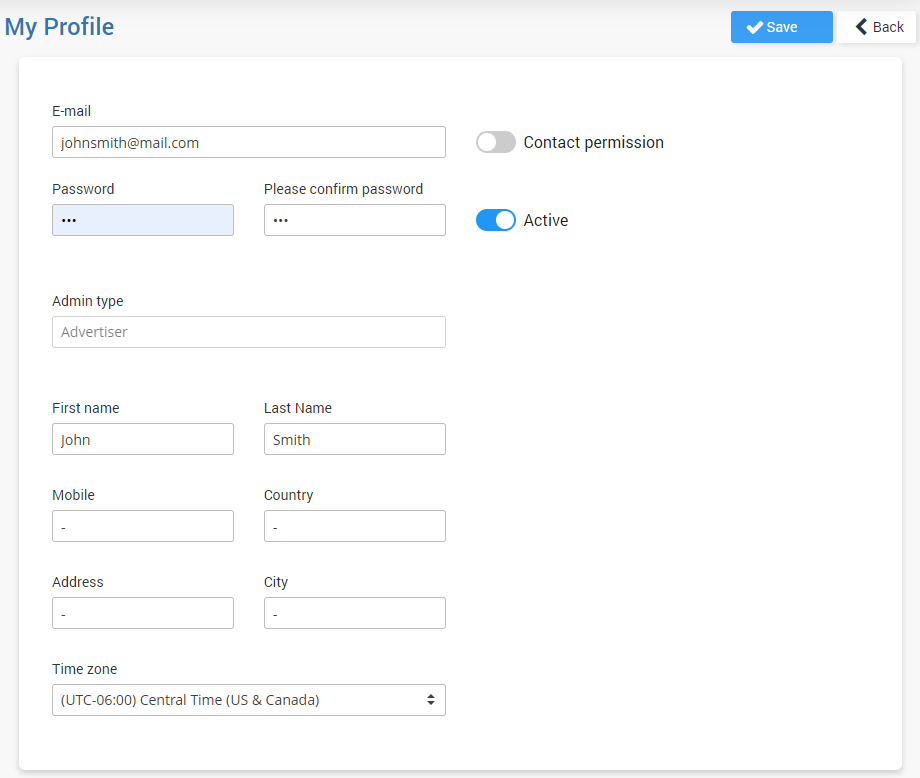
When the user logs in as admin, he can edit details from the self-service My profile page.
All admin details can be changed except Email and Admin type.
Configure MFA with Microsoft Authenticator
Available Admin Roles
Admin
Admin has full access and control of the Cloud WiFi account.
Location admin
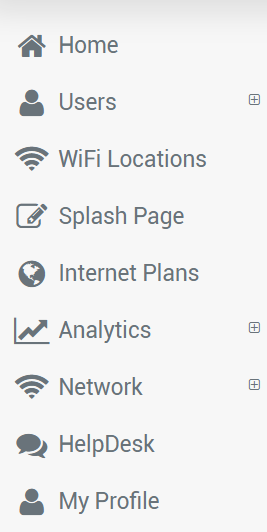
As Location admin, you can access and create Users, WiFi locations, Splash page, Analytics, License.
Marketing Admin
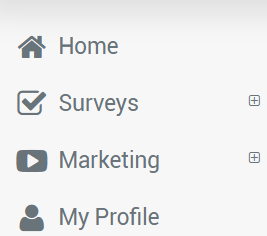
Marketing Admin may create Surveys and Marketing Campaigns.
Billing admin
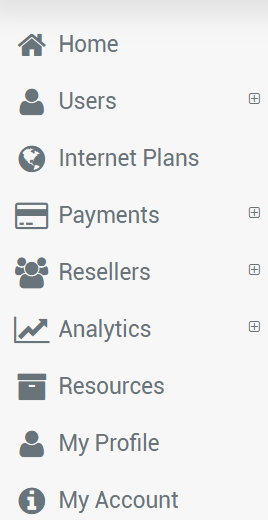
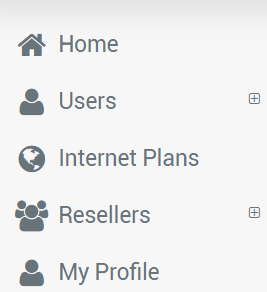
Billing admin can access and create Users, Internet Plans, Payment, Analytics, License.
Location User Admin
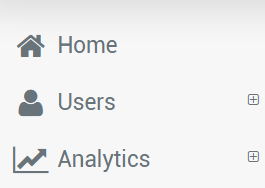
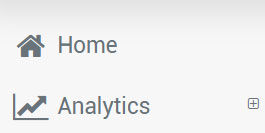
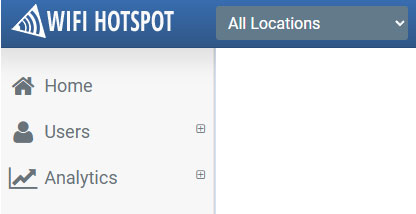
Location User Admin can create Users for that specific WiFi location and access the Analytics and License page.
Location Stats Viewer
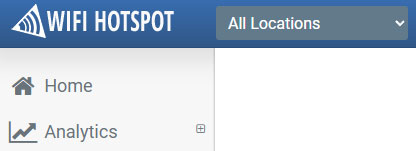
Location Stats Viewer can access and check Analytics for that specific WiFi location.
Multi-Location Stats Viewer
Multi-Location Stats Viewer can access and check Analytics on all WiFi locations.
Multi-Location Admin
Multi-Location Admin can create Users and access the Analytics on all WiFi locations.
Reseller Admin
Reseller Admin can only create Users for that specific WiFi location.
Advertiser Admin
Advertiser Admin can only create Ads.
Supervisor Admin
As Supervisor Admin you can access and create Users, Admins,WiFi locations, Splash page, Internet plans, Payments, Surveys, Analytics, Network.

