Ruckus R500
This article describes installation and configuration steps for standalone Ruckus R500 AP.
Connecting
Please reset the access point to factory settings to avoid problems with some previous configuration.
Connect your computer directly to Ruckus R500 by network cable through one of the Ethernet ports.
Configure your computer with an IP 192.168.0.2 and subnet mask 255.255.255.0.
Go to browser and access to router configuration using default IP address https://192.168.0.1.
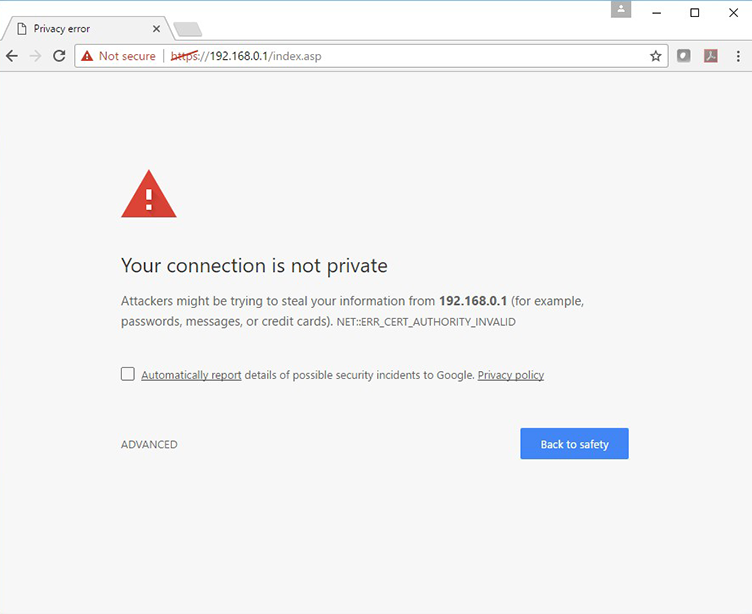
Press Enter to initiate the connection.
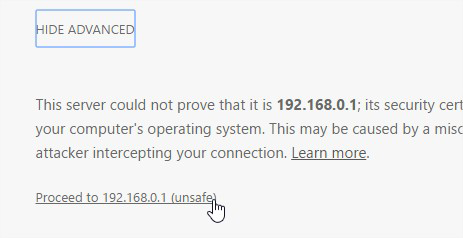
When a security alert dialog box appears, click Proceed to 192.168.0.1 (unsafe)
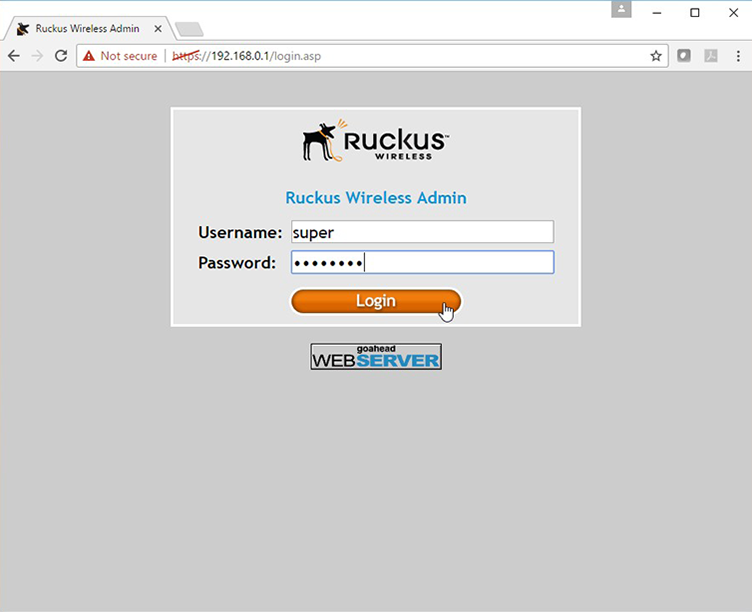
In the Ruckus Wireless Admin login page, enter the following:
Username: super
Password: sp-admin
Click the Login button.
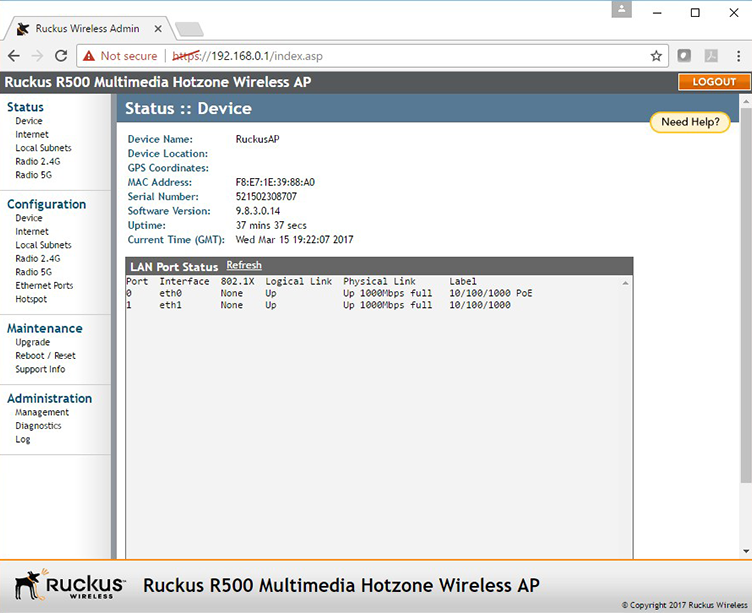
From Status :: Device section you can check the installed software version.
If the software version is older than 9.4, you must perform a software upgrade, since some of the features shown below are not available for previous versions.
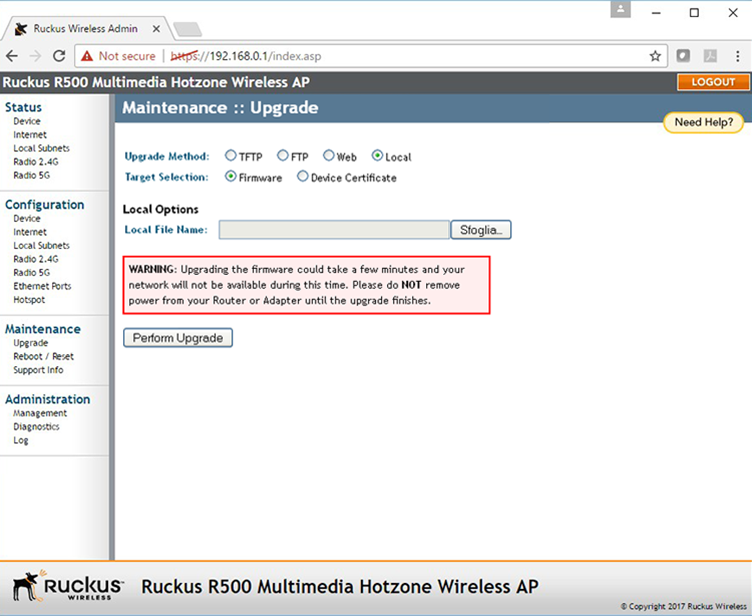
From Maintenance:: Upgrade section, you can upgrade the device firmware version by using 4 methods (TFTP, FTP, Web, Local).
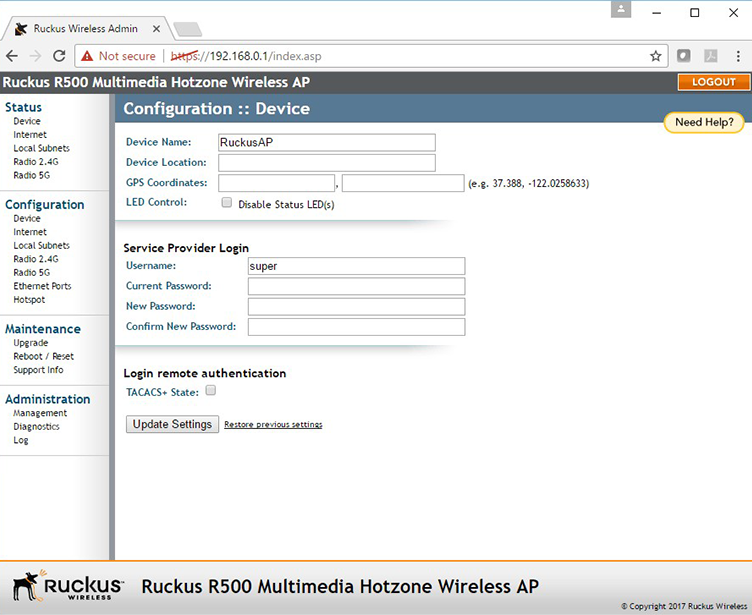
Go to Configuration :: Device section and click the Update Settings button to save data.
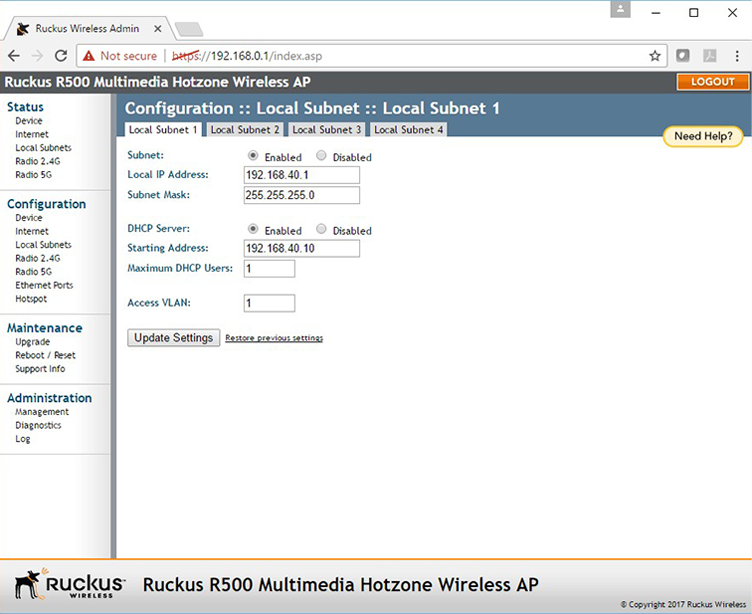
From Configuration :: Local Subnets section set the access point network details and the policies for the IP address assignment (such using DHCP server or not, and the IP addresses to assign to clients).
Click Update Settings button to apply changes.
Configuring parameters
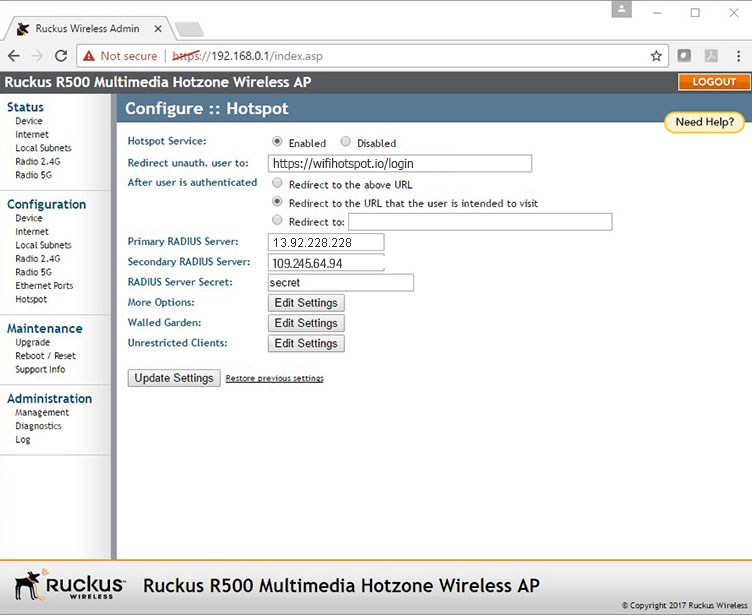
From Configuration :: Hotspot section set parameters for the access point configuration.
Redirect unauth. user to: https://wifihotspot.io/login
After user is authenticated: Redirect to the URL that the user is intended to visit
Primary RADIUS Server:: 13.92.228.228
Secondary RADIUS Server:: 109.245.64.94
RADIUS Server Secret: secret
Click Update Settings button to apply changes
Click More Options: Edit Settings button.
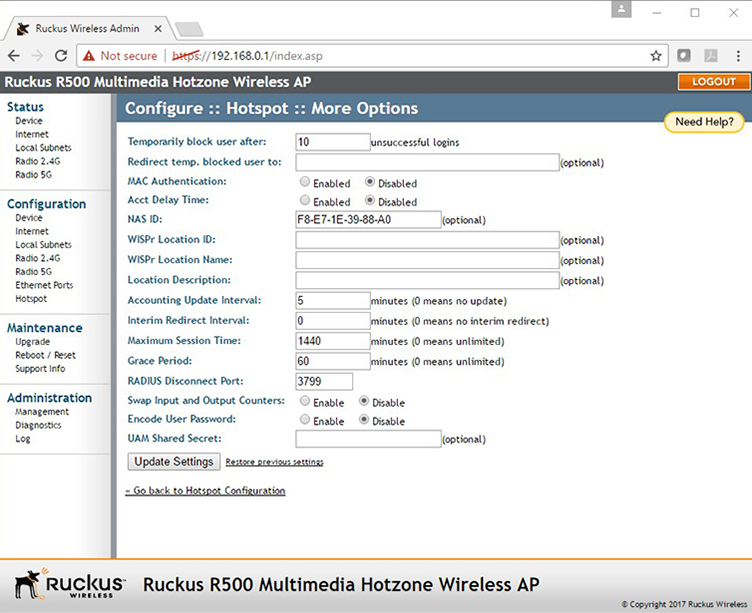
From Configuration :: Hotspot :: More Options section set particular attributes to send to the RADIUS server.
NAS ID must be unique for all the devices in the network.
Click Update Settings button to apply changes
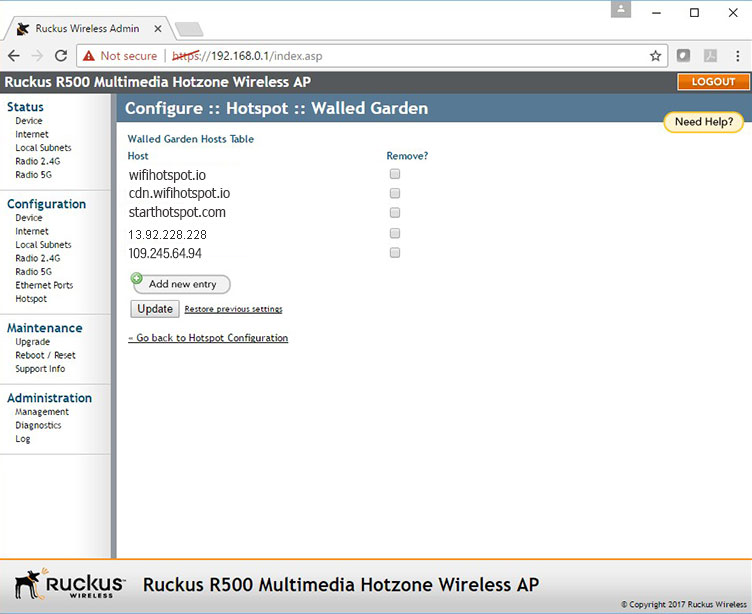
Go back to Configuration :: Hotspot section and click Walled Garden: Edit Settings button.
From Configuration :: Hotspot :: Walled Garden section you can set the list of web sites allowed for unauthenticated end-users.
Add the following domains:
antamedia.net
app.antamedia.net
app.antamedia.com
wifihotspot.io
static.cloudflareinsights.com
13.92.228.228
109.245.64.94
91.150.99.187
ocsp.sectigo.com
ocsp.usertrust.com
ocsp.comodoca.com
crl.sectigo.com
crl.usertrust.com
crl.comodoca.com
crt.sectigo.com
crt.usertrust.com
crt.comodoca.com
*.apple.com
*.sectigo.com
*.usertrust.com
Click Update Settings button to apply changes.
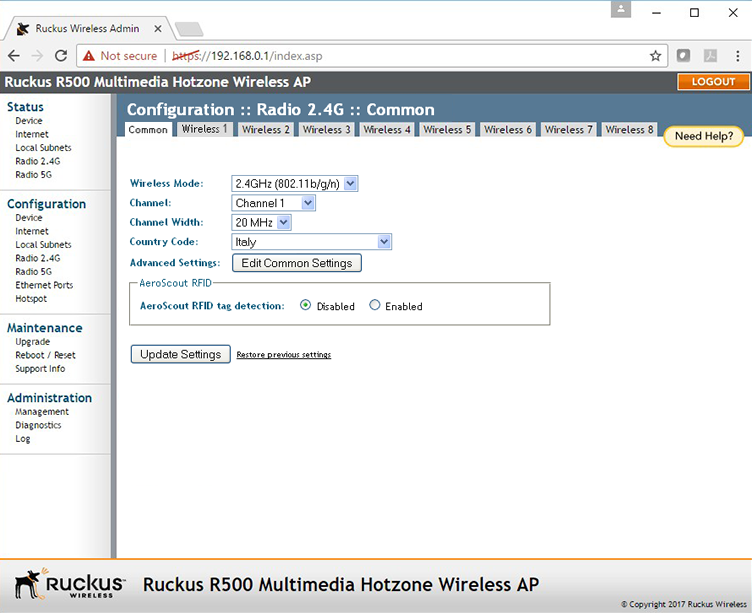
From Configuration :: Radio 2.4G section, you have ability to configure wireless networks.
On Common tab configure the common settings shared between all the network managed by the device.
Click Update Settings button to apply changes.
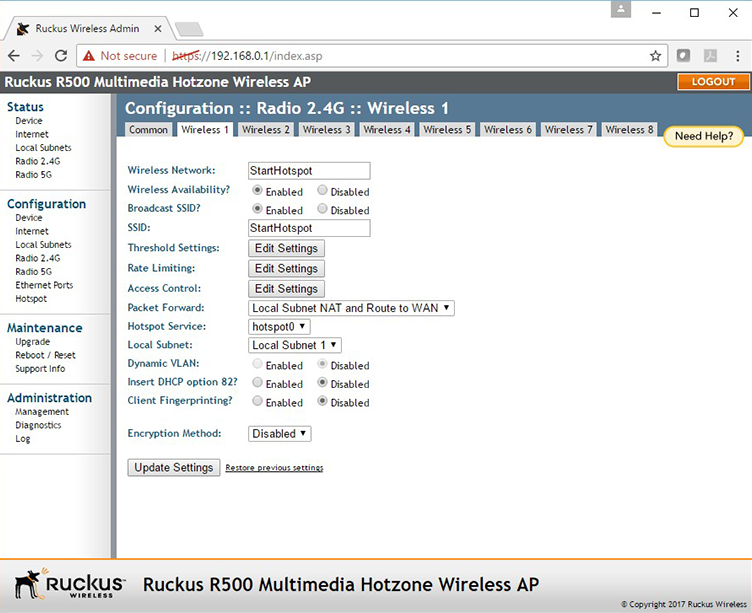
On the other tabs of Configuration :: Radio 2.4G section, you can set all the networks to manage (each corresponding to an SSID).
The example below shows a network called “StartHotspot”.
The Local Subnet and the Hotspot Service are those configured previously.
Click Update Settings button to apply changes.
Troubleshooting
Ruckus R500 hard-reset
Press and hold the button which says hard reset within a tiny circular hole for 10 to 12 seconds.
During the entire time, you press and hold the hard reset button the device should not reboot, only once you release the button the AP should reboot, which means your factory reset procedure was correct.
Accessing the Ruckus R500 AP
Connect a laptop directly to the AP and make sure you assign a static IP on the local area connection in the range of 192.168.0.X with subnet mask 255.255.255.0.
The default gateway can be empty.
Check if you can do a continuous ping to the default IP of the AP which 192.168.0.1.
If you are unable to ping check by swapping the Ethernet cables, PC or the ports in AP.
If you are able to ping but unable to access the GUI of AP, try using alternate browsers.