This article describes installation and configuration steps for Extreme Networks Campus Controller.
Log in to your Extreme Networks Campus Controller, go to Configure/AAA Policy page and configure following:

From the same page create new RADIUS Authentication Servers and RADIUS Accounting Servers.
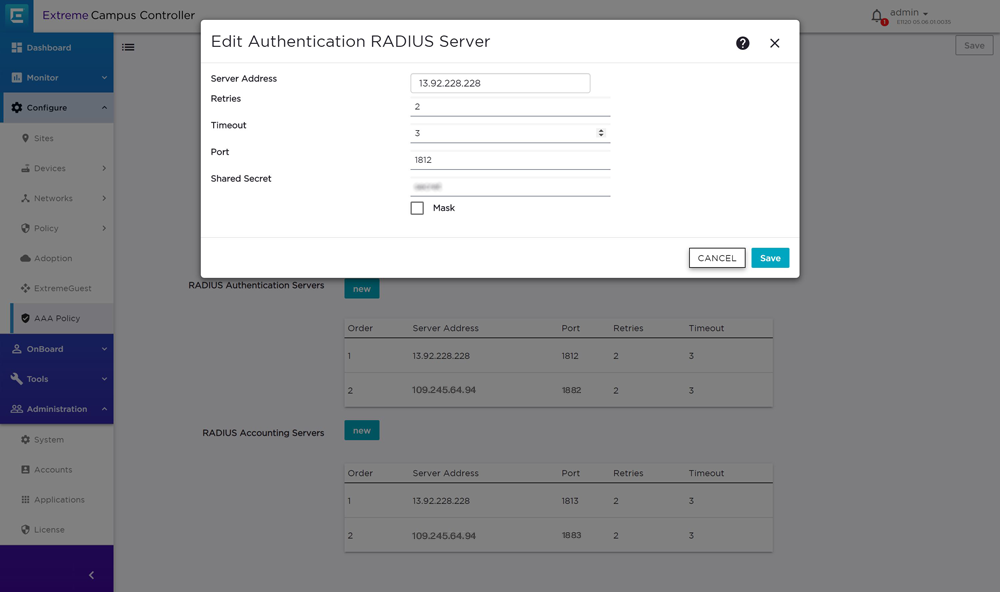
Then create RADIUS Accounting Servers:
Roles define the access domain of users and it can be pre-configured with various settings such as bandwidth quota, security policies, etc…
Roles must be created with speeds that match the Internet plans on the Start Hotspot portal.
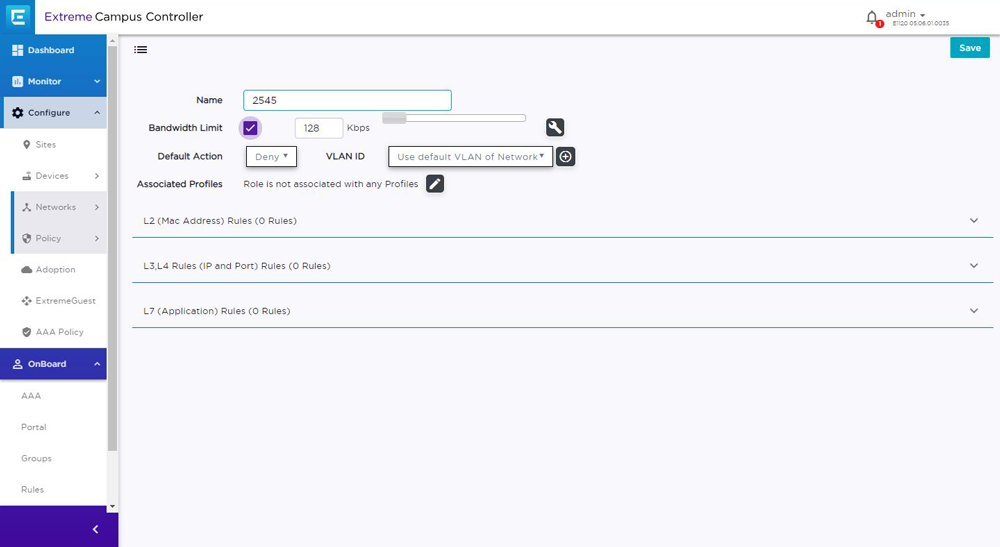
In this example, we will create role 2545 which will be responsible for determining the bandwidth limits based on the appropriate Internet plan.
Go to the Networks page and add a new role.

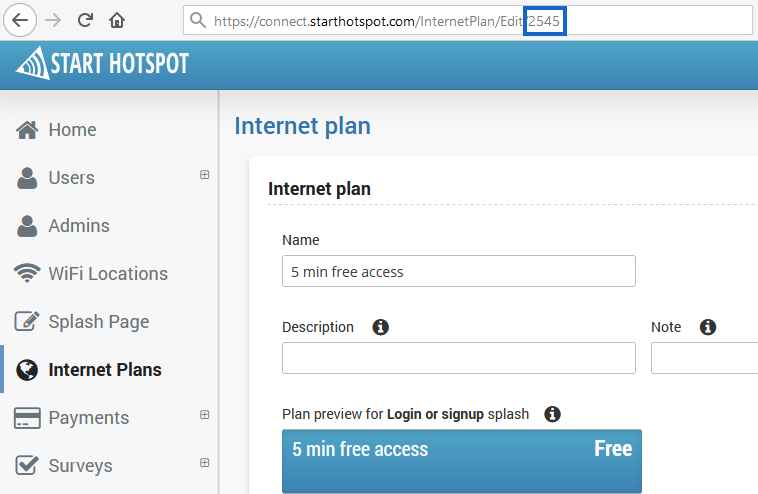
The role name must be the same as the Internet Plan ID on the Start Hotspot portal.
In our case, it is 2545.
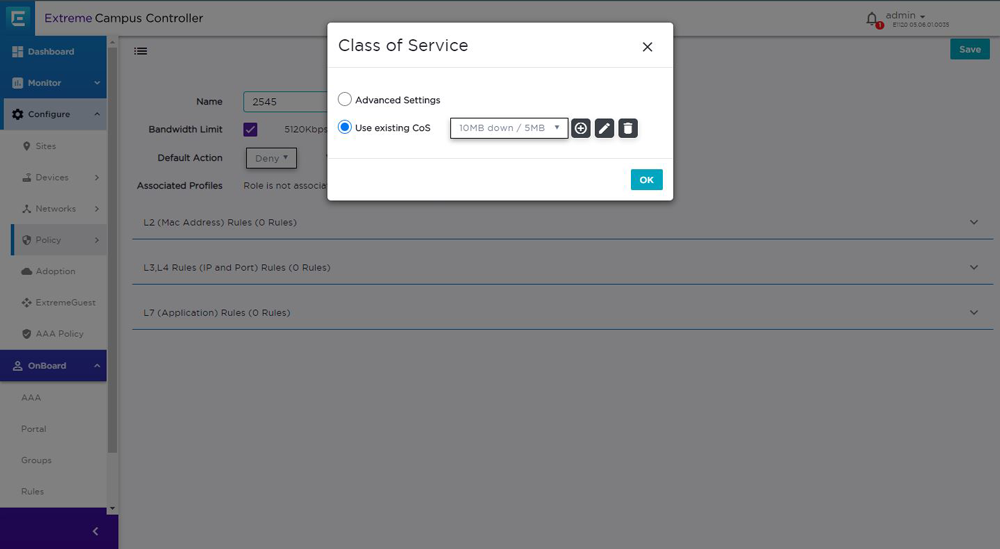
Tick Bandwidth Limit and click on the Settings icon.
From the Class of Service pop up window select Use existing CoS and click + icon

From the next window set CoS name ( in our case 10MB down / 5 MB up), select Any Priority, then configure Inbound Bandwidth and Outbound Bandwidth Limits.


When Inbound and Outbound Bandwidth Limits are set, click Save.
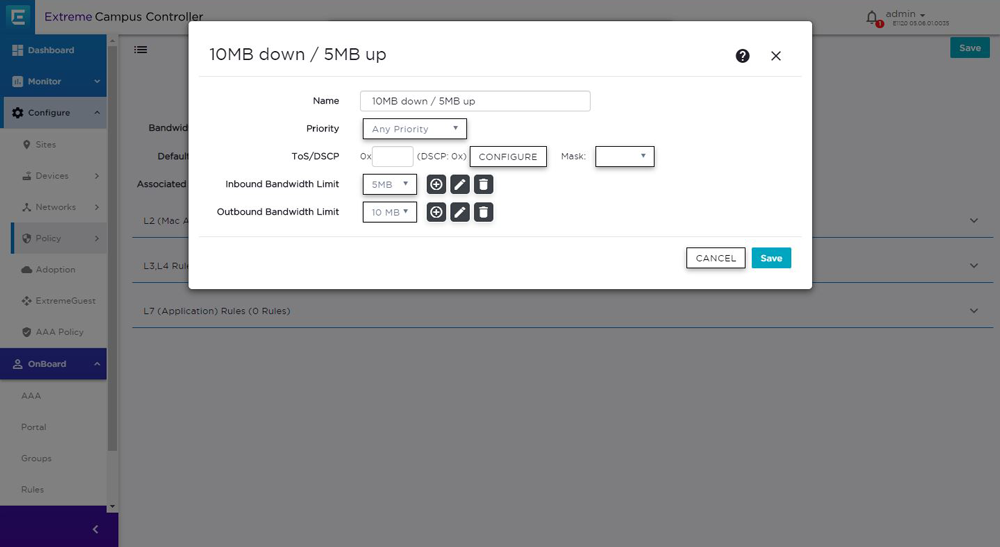
Click on the Settings icon again and select previously configured Class of Service ( 10MB down / 5 MB up)
In Default Action dropdown menu select Allow and save changes.
