Create Splash Page
Learn how to create a Splash page
Customize your Splash pages with your own brand, logo, and background image with the easy-to-use page editor.
Easily create a new Splash page using templates and configure how will your guests start an Internet session.

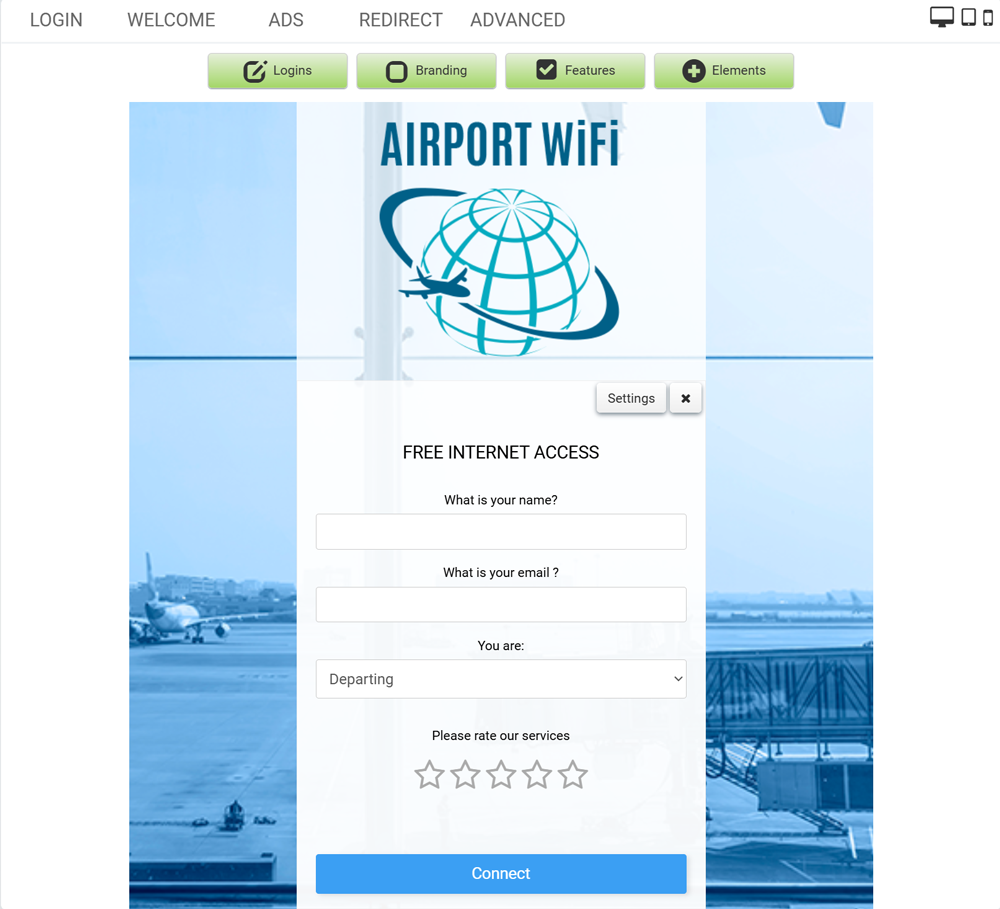
From the Splash Page panel you will set and configure the portal page.
It is very important that it looks good.
You deserve a good first impression.
You can include survey, enforce terms of use, enable social login, or include language selection.
Splash editor is super-simple to use, so you can quickly setup nice-looking responsive pages that look good on any device.
You can easily drag & drop login forms on top of each other and quickly change their order.
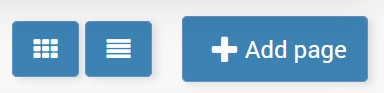
To create a new Splash page press on + Add page button.
From Page Details set Name for a new Splash page and Configure Images for Background and Logo.
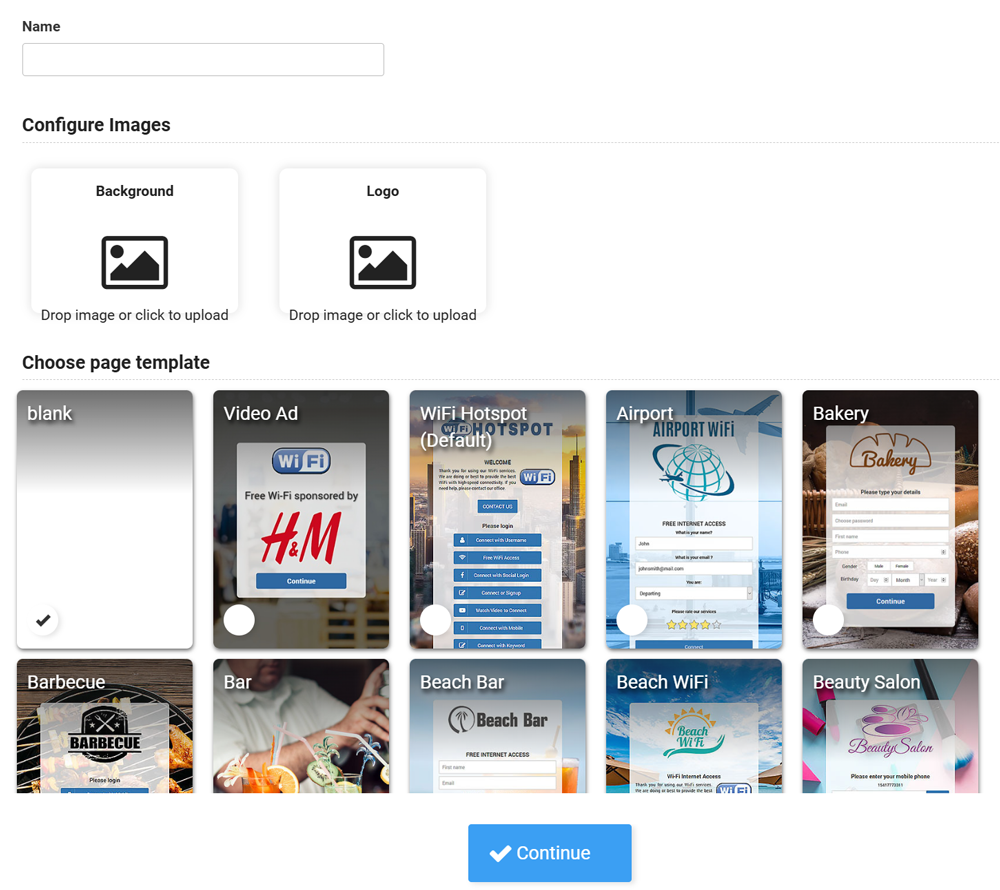
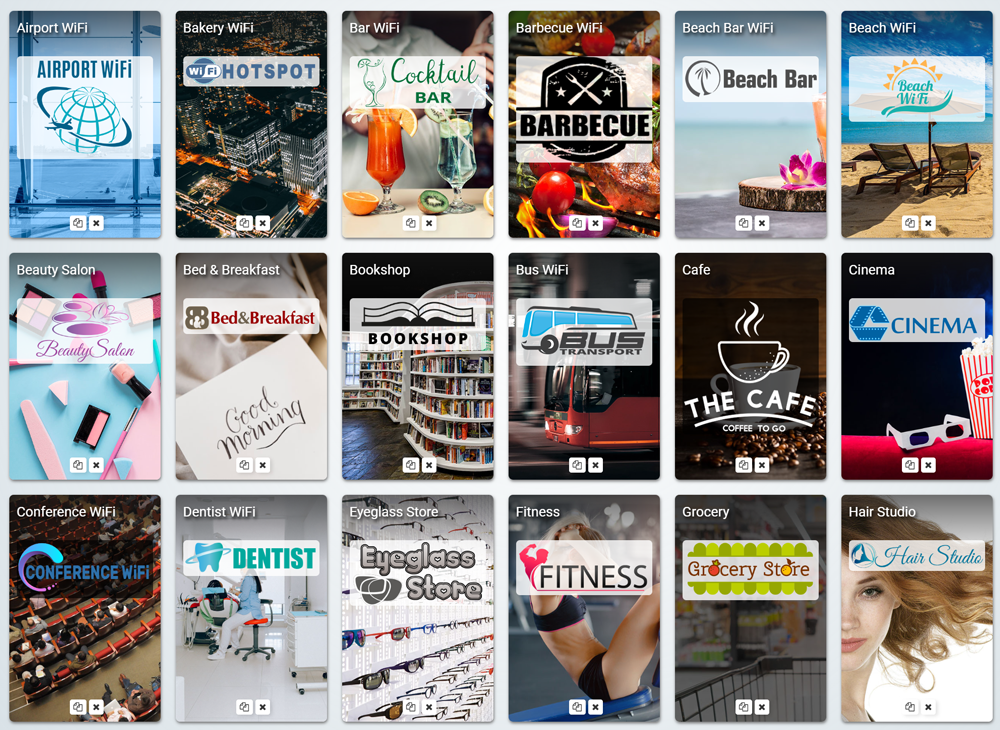
If you wish, you can load some of the already configured Page Templates or to press the Continue button and configure it from the start.
The Splash page can be easily modified and set to match your corporate look.

On the Splash Page/Login tab, click Branding icon and press Upload (if it is not configured yet) or Delete (if it is already set) and upload the desired images.
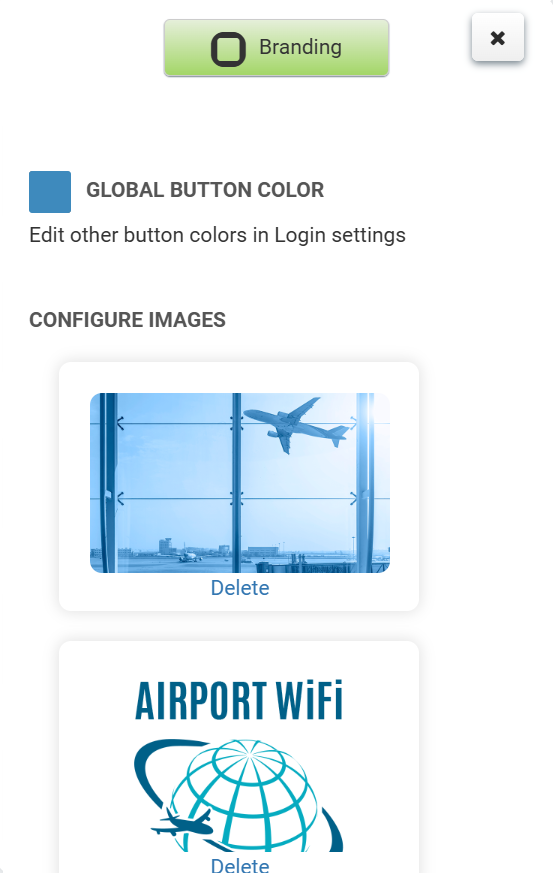
Press the Save button to apply changes.
It is recommended to use a Logo image with width 400 px, in png format.
Background photo should be 800×800 px or 1000×1000 px max, in png format.
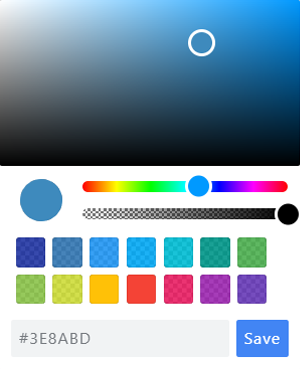
You can easily change the buttons color schemes of your Splash page for each login method or you can create your Splash page color palette from scratch by using the Global Button Color and match the color of the buttons with your logo and background design.