You can create new WiFI location by pressing on New Location button.
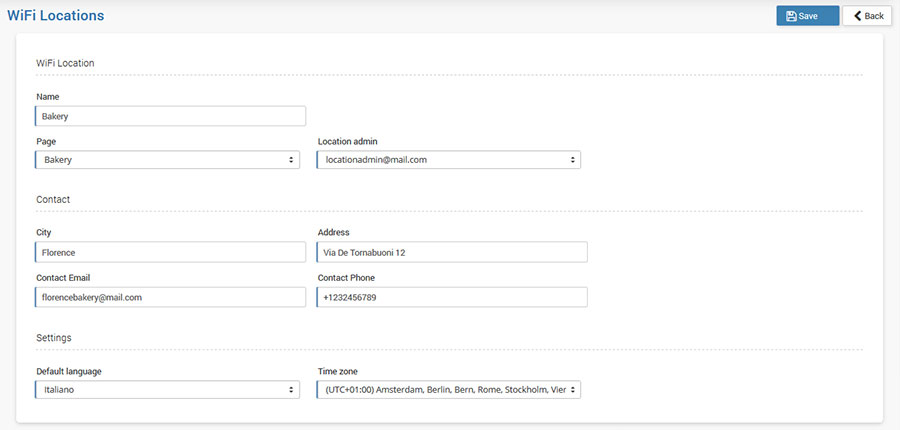
WiFi Location must have the following details:
– Name – This is name that will be seen in the system and analytic’s
– Page – from the list below choose Page for new Location
– Location Admin
– Contact info (Address, City, Email, Phone)
– Default language for location
– Time zone (time zone in which the Location is located)
– Location URL URL address for your location
Each WiFi location contains important information.
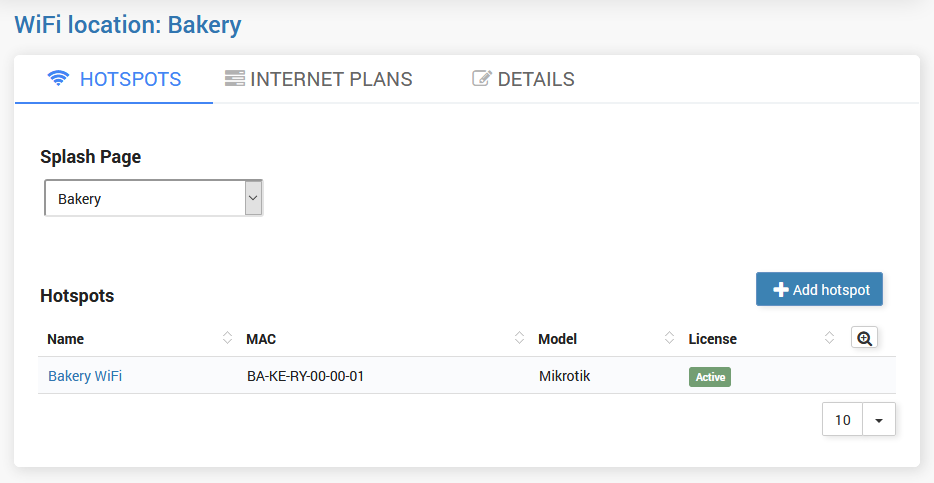
Hotspots tab give details regarding location Splash page, the selection for Redirect after login to (User Profile, Original URL, URL or Page) option and Hotspots routers at the location.
Each router at the Hotspot location has unique details:
Hotspot Name, Router Model, and router MAC address.
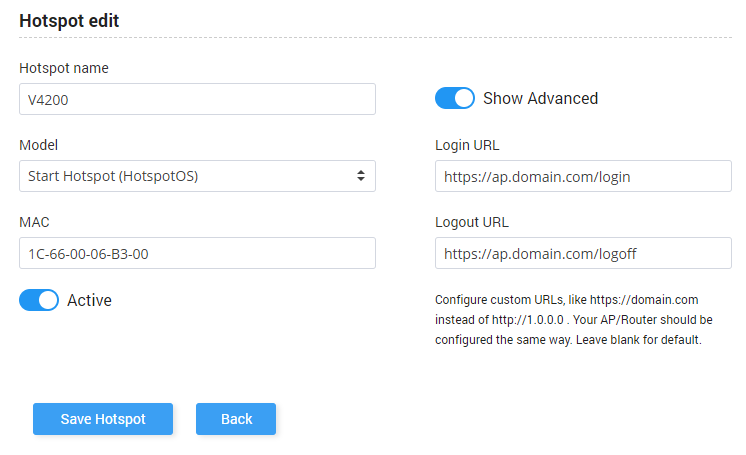
After making modifications you can Save Hotspot changes, go Back to the previous panel or access to Setup instructions for your model of router.
If AP has an HTTPS server and SSL Certificate you can set your own custom login and logout URL to avoid browser warning messages.
To enable this option, click on Hotspot Name to open the Hotspot edit page.
Click Show Advanced, type your Login and Logout URL and Save changes.
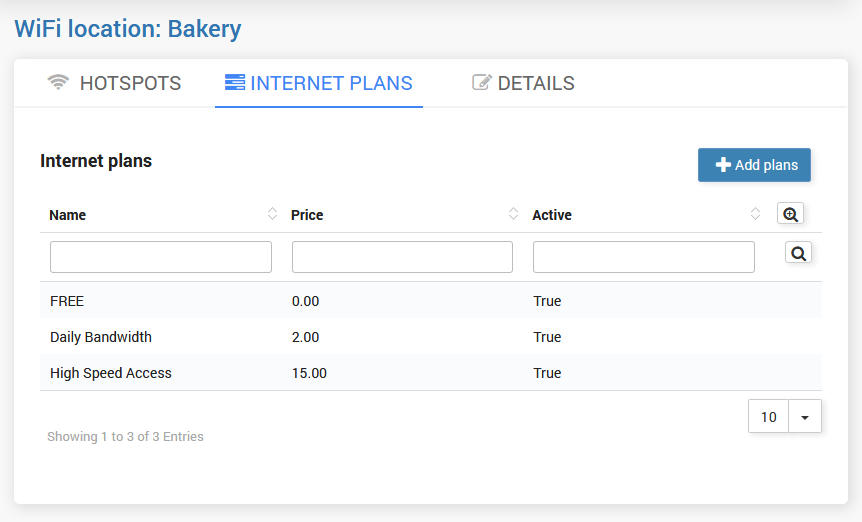
From Internet Plans, can be configured internet plans available for that location.
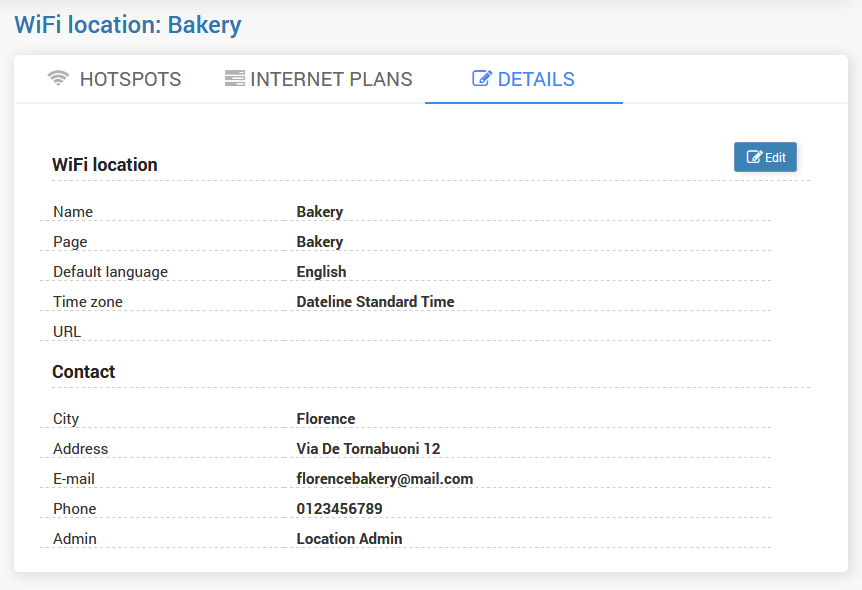
Details tab contain all WiFi location information in one place.
List of WiFi Location details:
Name, Page, Default Language, Time Zone, URL and contact details, City, Address, Email, Phone, Location Admin.
If any of those details should be changed it can be done in one step using the Edit button.
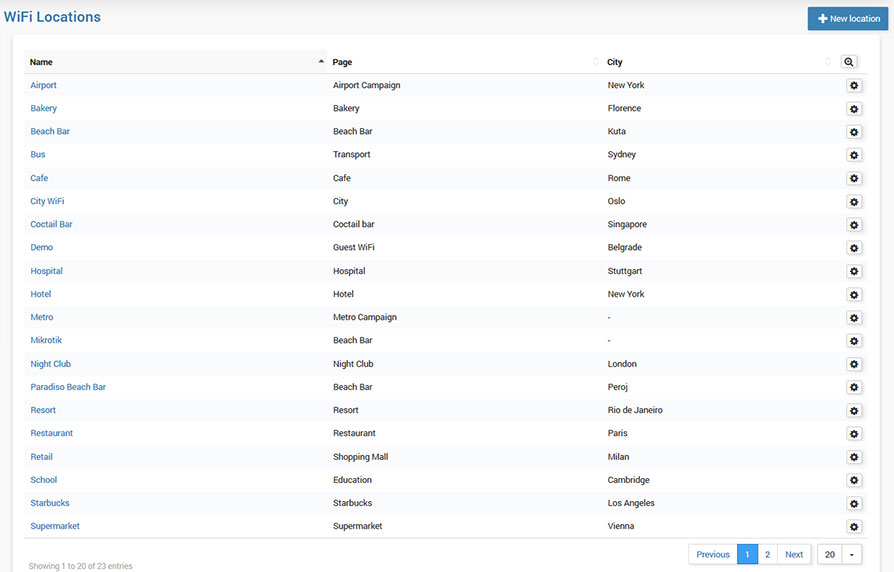
WiFi Location panel gives a preview over all configured locations on your Cloud WiFi account.
The list contains WiFi location Name, Page, and City and configuration button from which location can be edited or deleted.

