This article describes the installation and configuration steps for Aruba Central. Our test was performed with Aruba AP-303-RW.
Log in to your account on Aruba Central portal.
From menu on the left, under Wireless Configuration, select Networks.
Click Create New and configure the following:
Type – Wireless
Name (SSID) – ArubaWiFi (or whatever you wish)
Primary Usage – Guest
Click Next and continue configuration.
Client IP Assignment – Virtual Controller Assigned
Click Next and continue configuration.
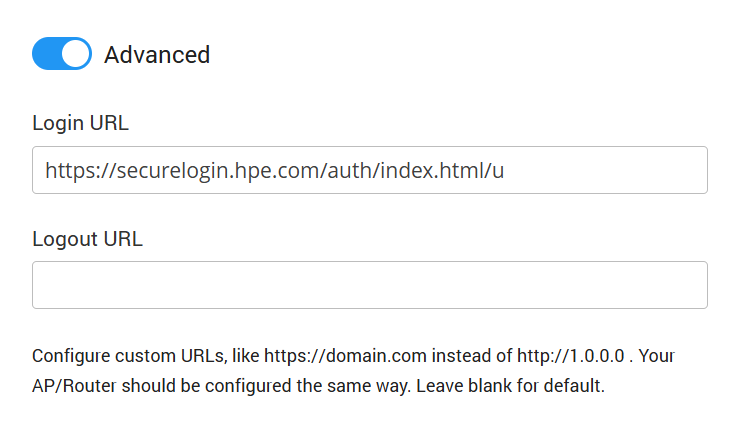
Splash Page Type – External
Captive Portal Profile – Press + … and set the following.
Click Save.
Encryption: Disabled
MAC Authentication: Disabled
Primary Server: Press + … and set following:
Other values should be left at default settings.
Click Save.
Accounting:
Accounting: Use accounting servers
Accounting Mode: Authentication
Accounting Interval: 5 min
Walled Garden:
Under Whitelist click + and type following domains:
Advanced:
Under Reauth Interval set 24 hrs
Click Next.
Access Rules: Role-Based
Under Role click on New and enter Preauth as the Name.
Click Ok.
Under Access Rules for Selected Roles click on the Plus icon.
Add a new rule one by one for each of the following:
Click on Save to each one and then add the next until all are listed.
Finally, add the following rule:
Under the Role on the left choose default_wired_port_profile, select Assign Pre-authentication Role and select Preauth.