Sign Up and basic configuration of your account on Antamedia Cloud Platform is done in couple easy steps.
Visit wifihotspot.io and Sign up for Antamedia Cloud Platform.
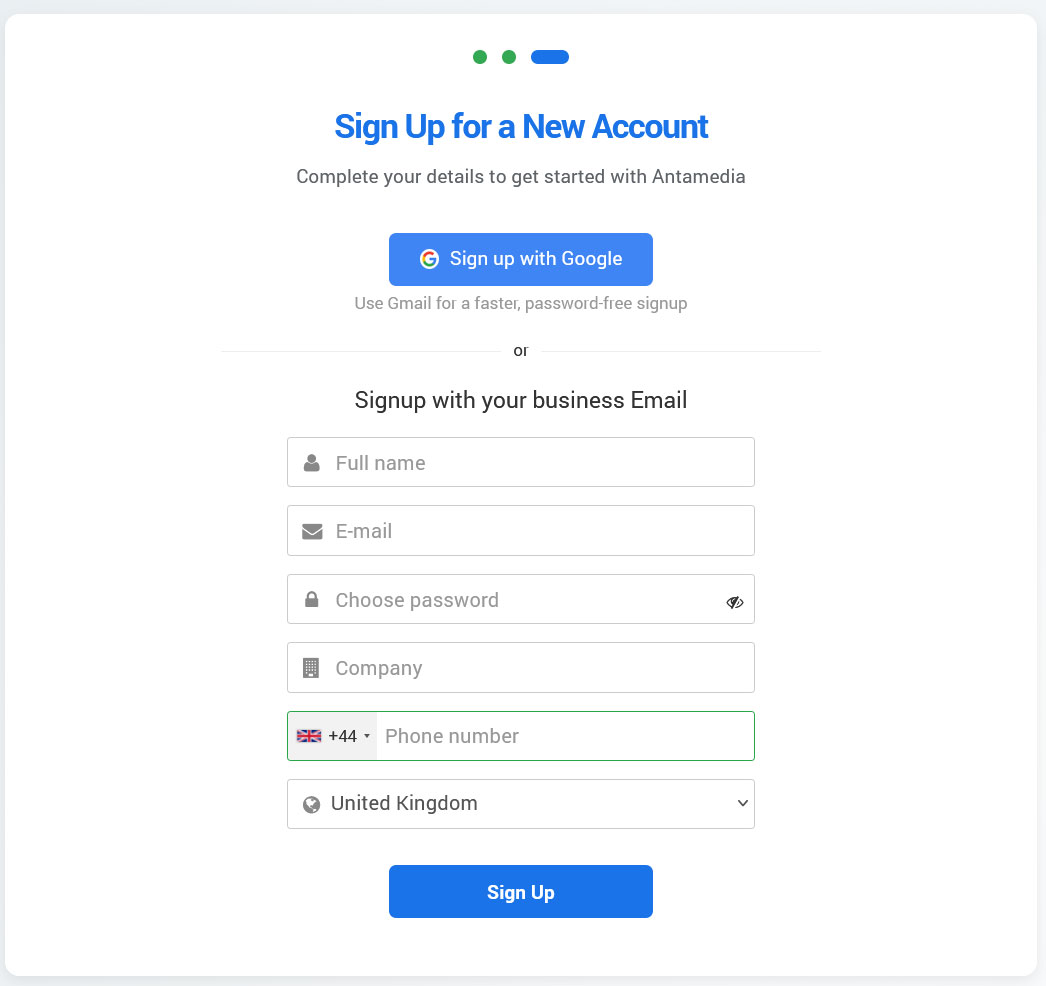
Users can sign up for a new account using a Google account or a company email. Email verification is available only with sign up with Email.

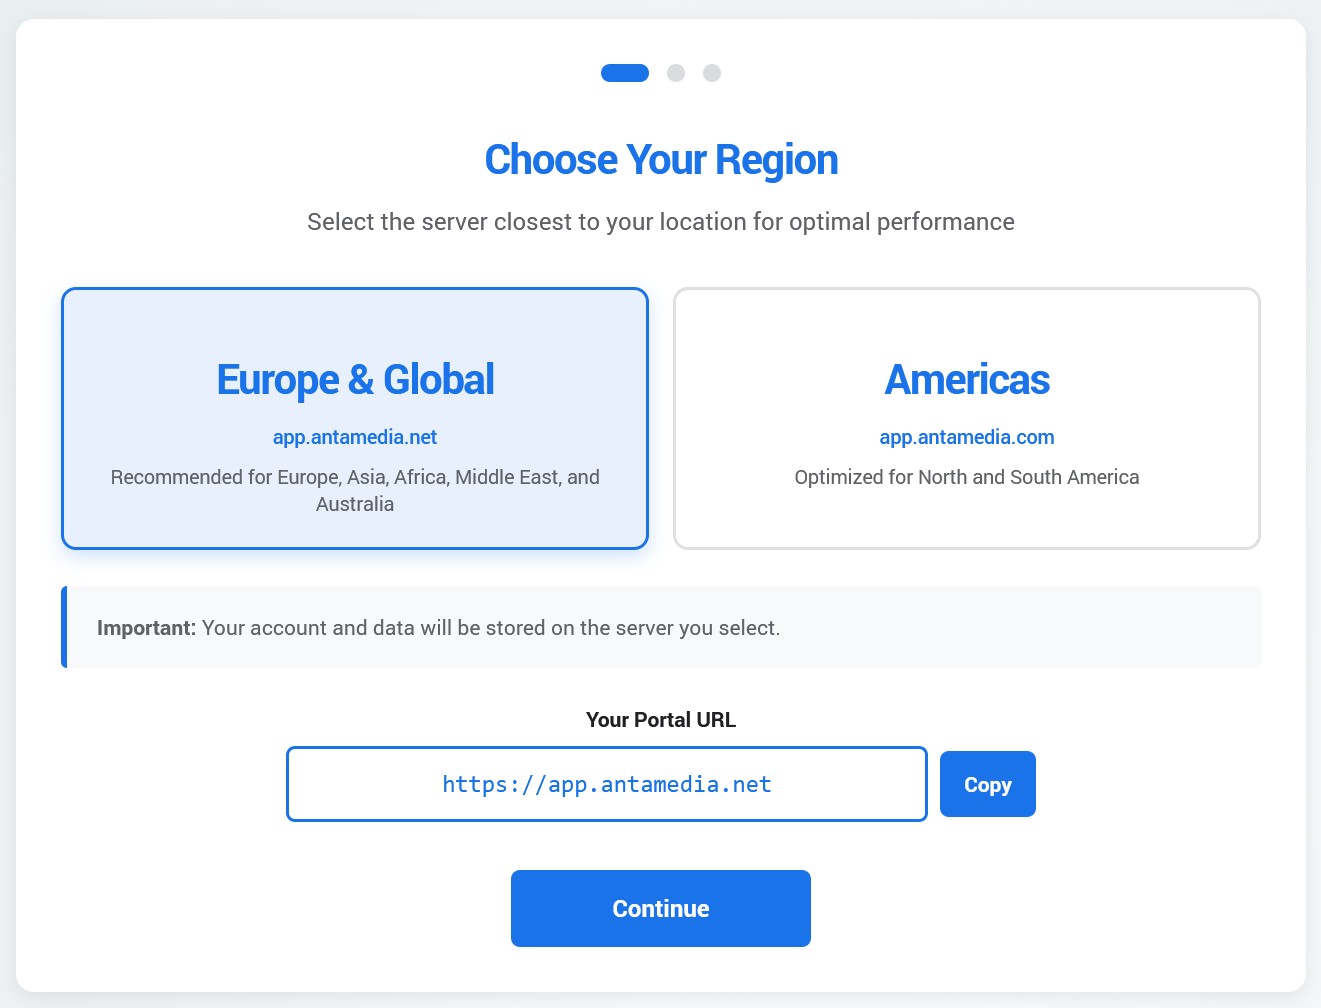
Choose where your account will be hosted by selecting the server closest to your location for the best performance, Europe & Global or Americas.
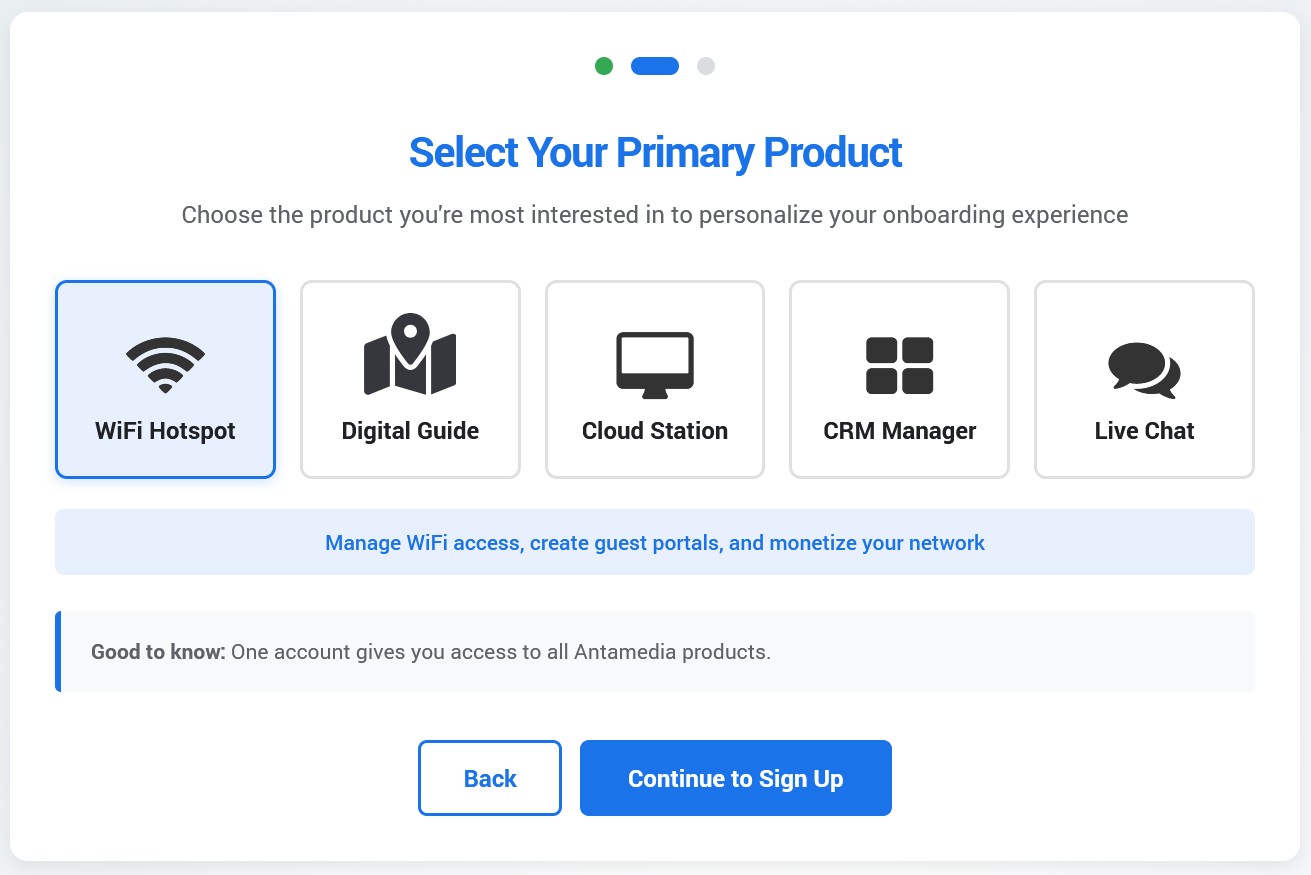
Pick the primary product you want to start with: WiFi Hotspot, Digital Guide, Cloud Station, CRM Manager, or Live Chat.
In the New account form, sign up with Google or use your business email, fill in the required details, and select Sign Up to create your account.
The first stage of your sign up has been successful.
To complete the process, please check your e-mail. Within the email, you will find a link that you must click to activate your account.
If the e-mail doesn’t appear shortly, please make sure to check your spam folder.
Some anti-spam filters modify the e-mail, so first, copy any spam message to your inbox before clicking the link.

Once the Antamedia Cloud account is activated, you will proceed with the Onboarding.
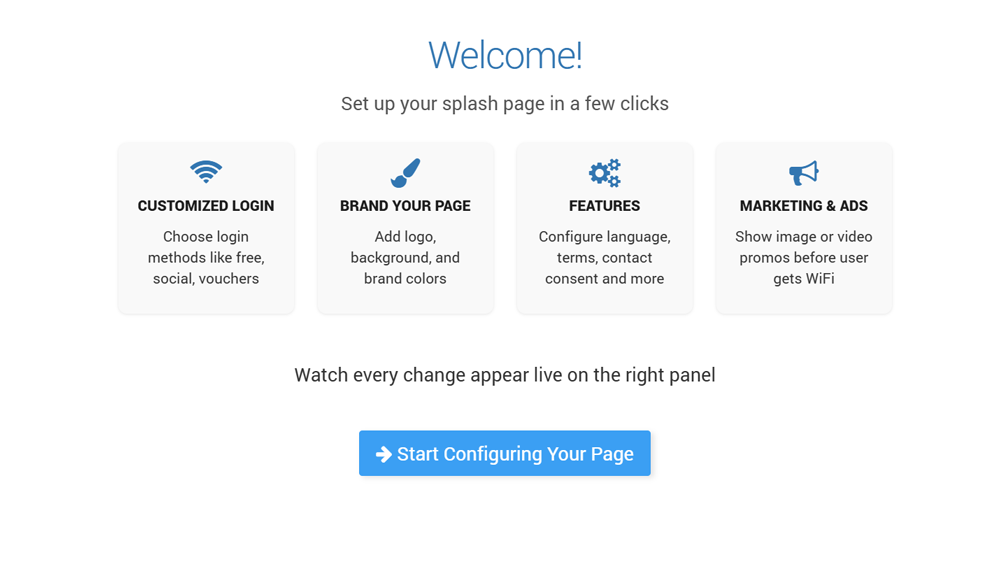
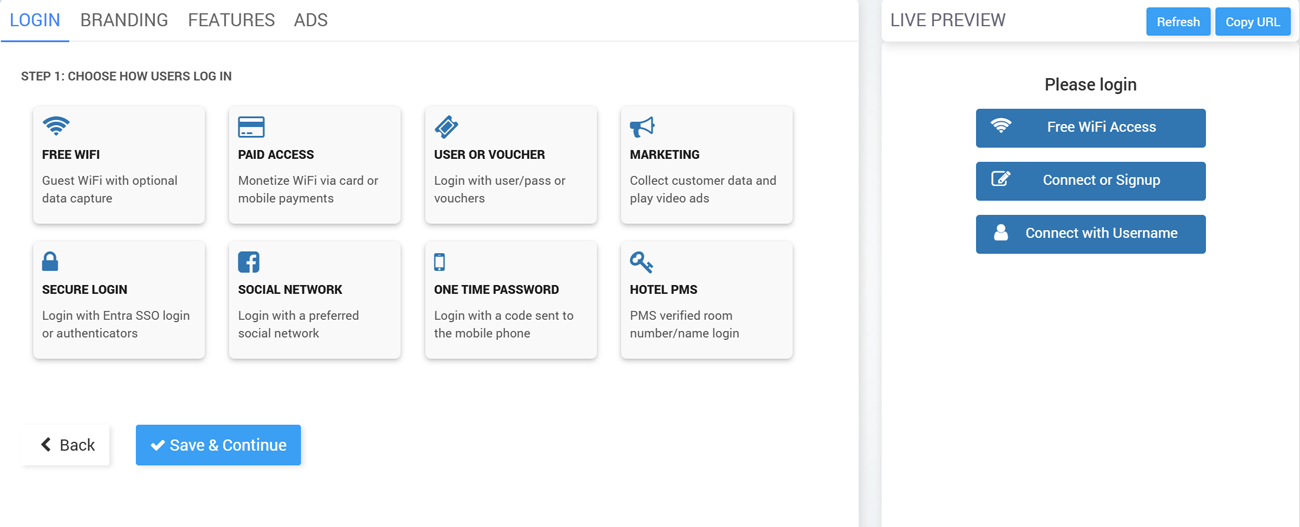
The onboarding process for setting up a splash page in Antamedia Cloud WiFi is divided into four steps, accessible via tabs: Login, Branding, Features, and Ads. A live preview panel on the right shows real-time updates of the splash page.
Step 1 Login: Choose how users Login
Select one or more desired Login methods that you want to display on the Splash page.
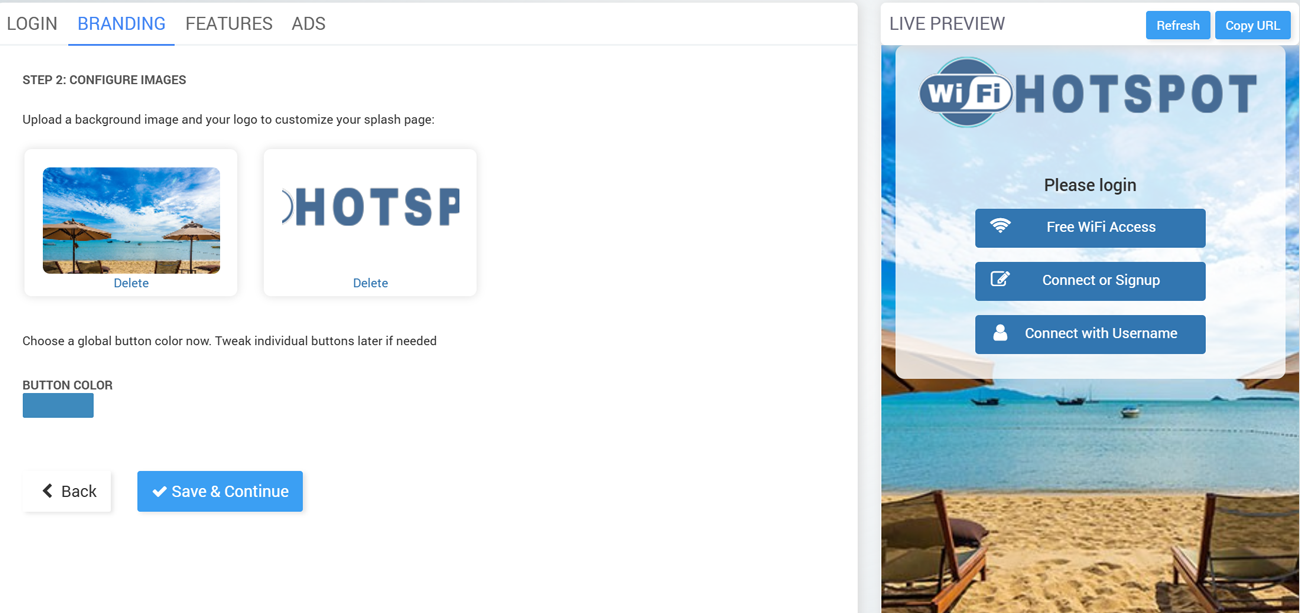
Step 2 Branding: Configure Images
Upload a background image and a logo to customize the splash page.
Choose a global button color for the page (individual buttons can be adjusted later).
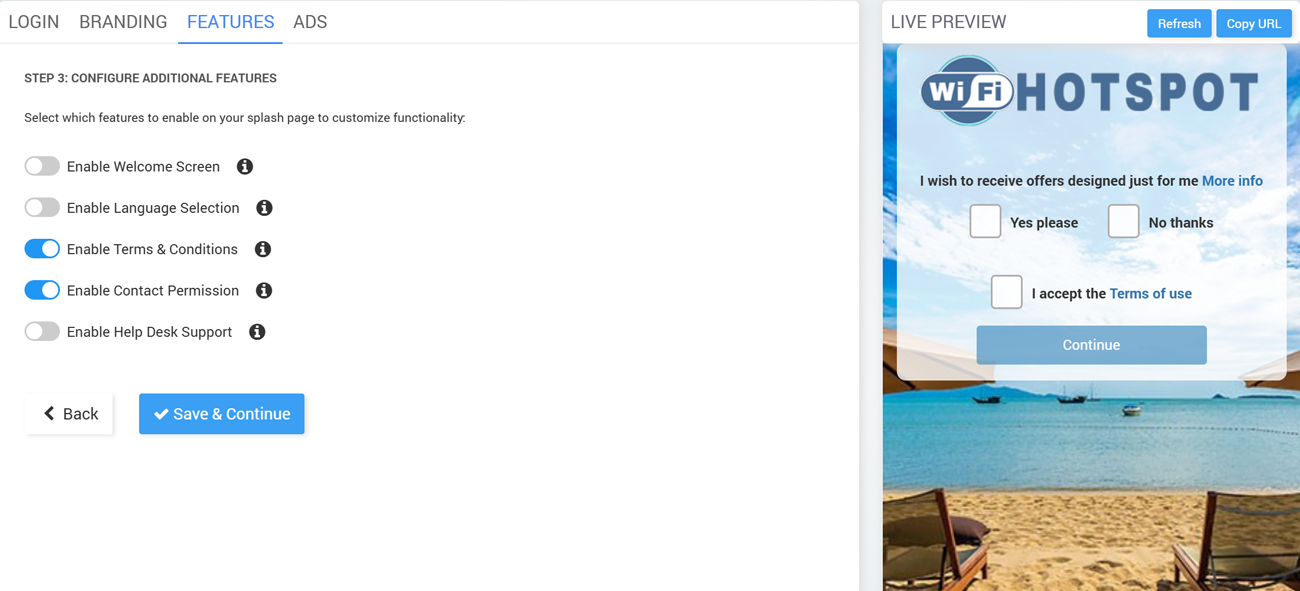
Step 3 Features: Configure additional Features
Enable Welcome Screen, Language Selection, Terms & Conditions, Contact Permission, and Help Desk Support
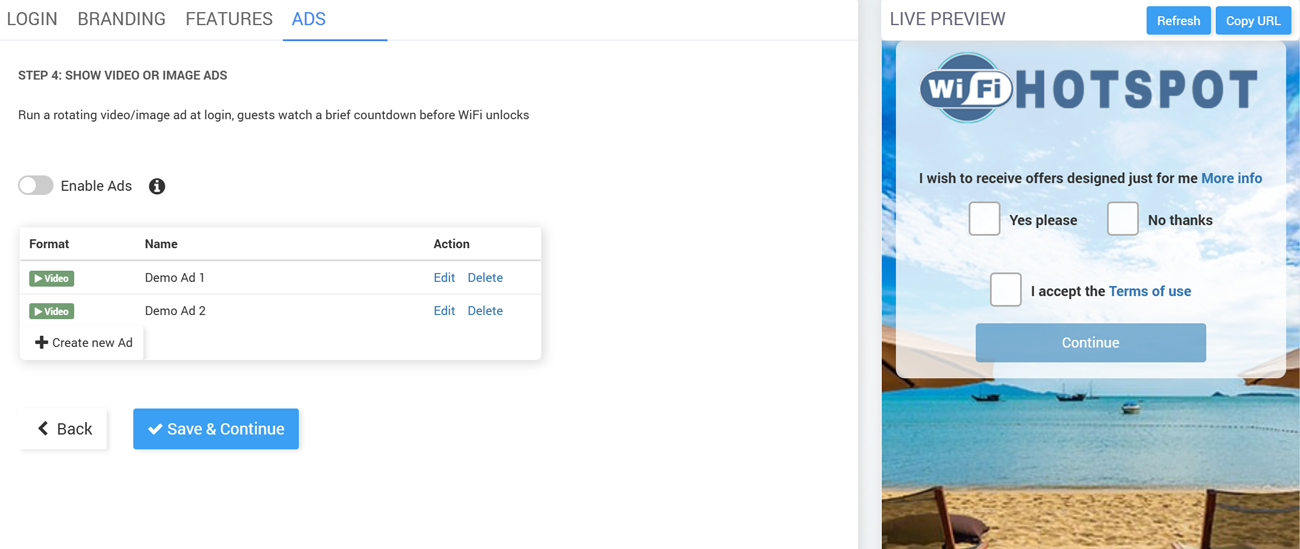
Step 4 Ads: Show Video or Image Ads
Enable/disable ads on the splash page.
Add, edit, or delete video/image ads that play before WiFi access is granted.
 Click Save & Continue to complete setup.
By clicking the Save & Continue, you will be redirected to the Cloud WiFi portal Homepage.
At this stage, you have finished the initial setup of your Cloud WiFi account, and you should proceed with the configuration of the hardware and connect it to the portal.
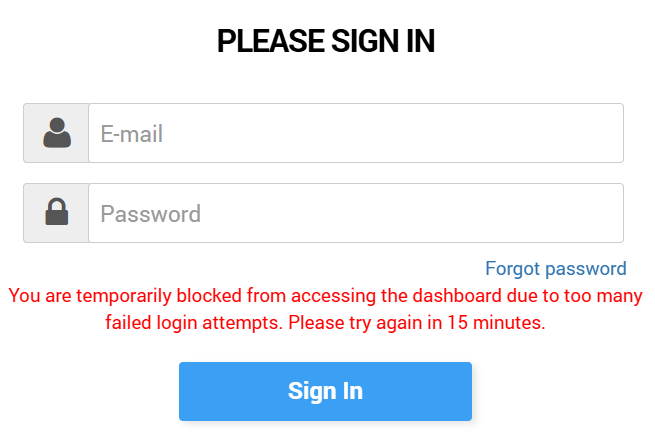
Login Brute-Force Protection feature tracks failed attempts per user+device, user+IP, and IP-only, temporarily blocking access after repeated failures and automatically clearing counters after a successful login.